Whether you’ve just heard about Otherside Renting or have been intrigued for a while but are unsure about how renting works, this post is for you!
Find out how easy it is to rent an Otherside asset by reading our short step-by-step tutorial or watching Justin break it down in his video guide below.
Get ready to upgrade your team – and your Legends of the Mara gaming experience!
Otherside Renting: a Step-by-Step Tutorial
1 - Go to the “All Assets” page
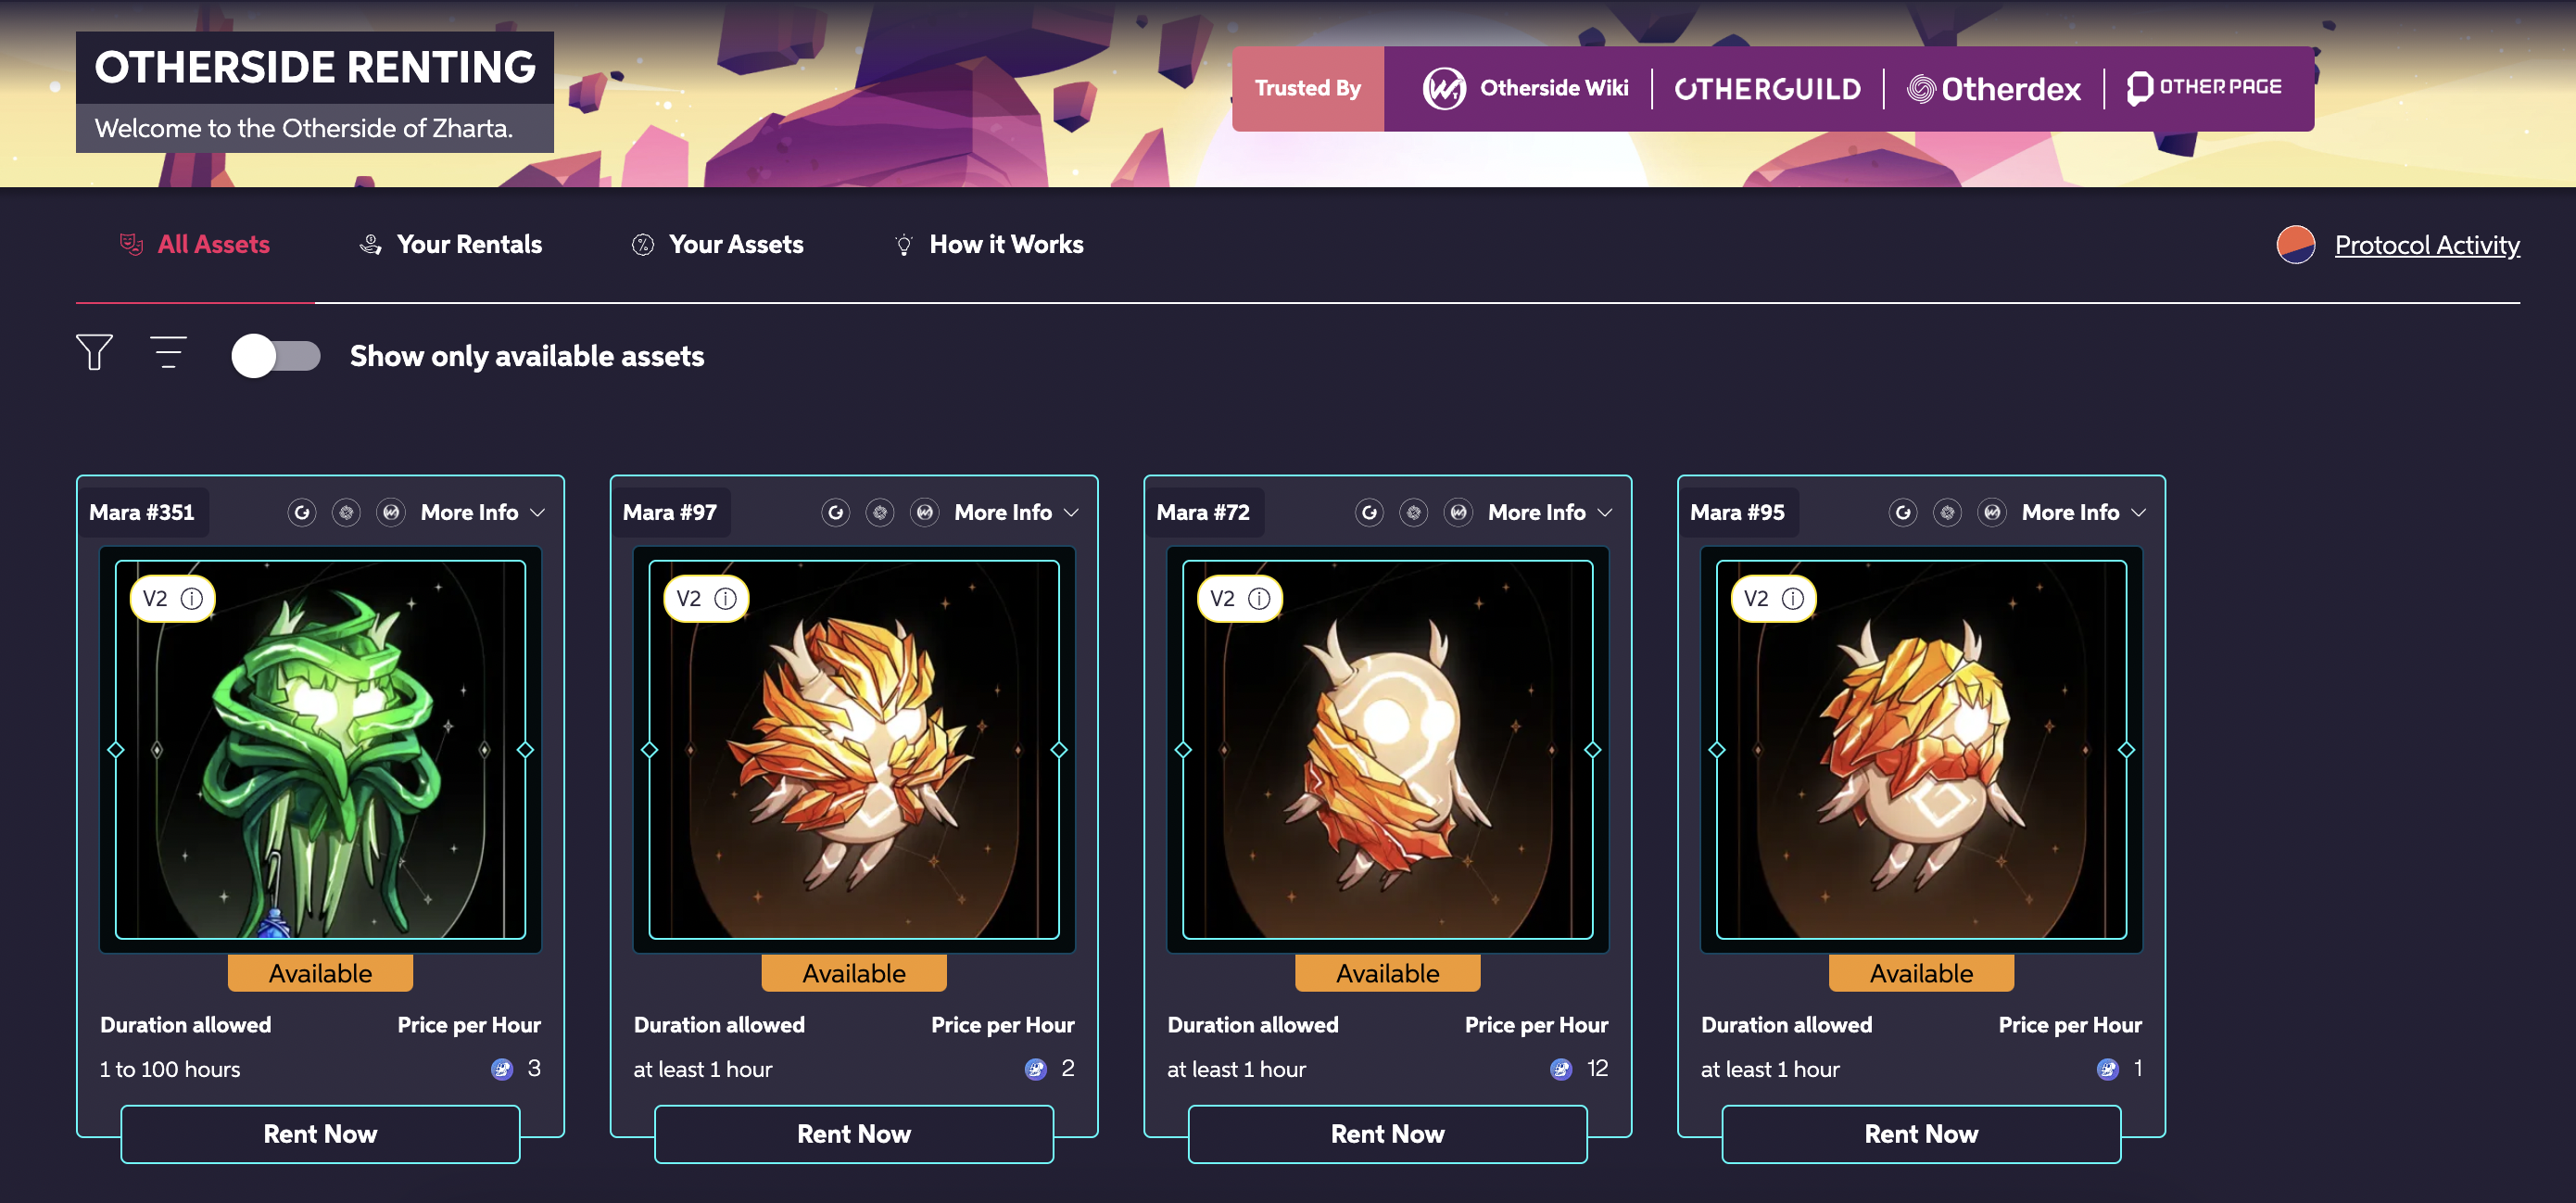
Browse the assets other players have put up for rent. You can filter them according to availability and the characteristics that interest you and sort them by pricing or maximum rental duration.
Once you’ve chosen the asset that best fits your needs, it’s time to start the rental process by clicking “Rent Now”.

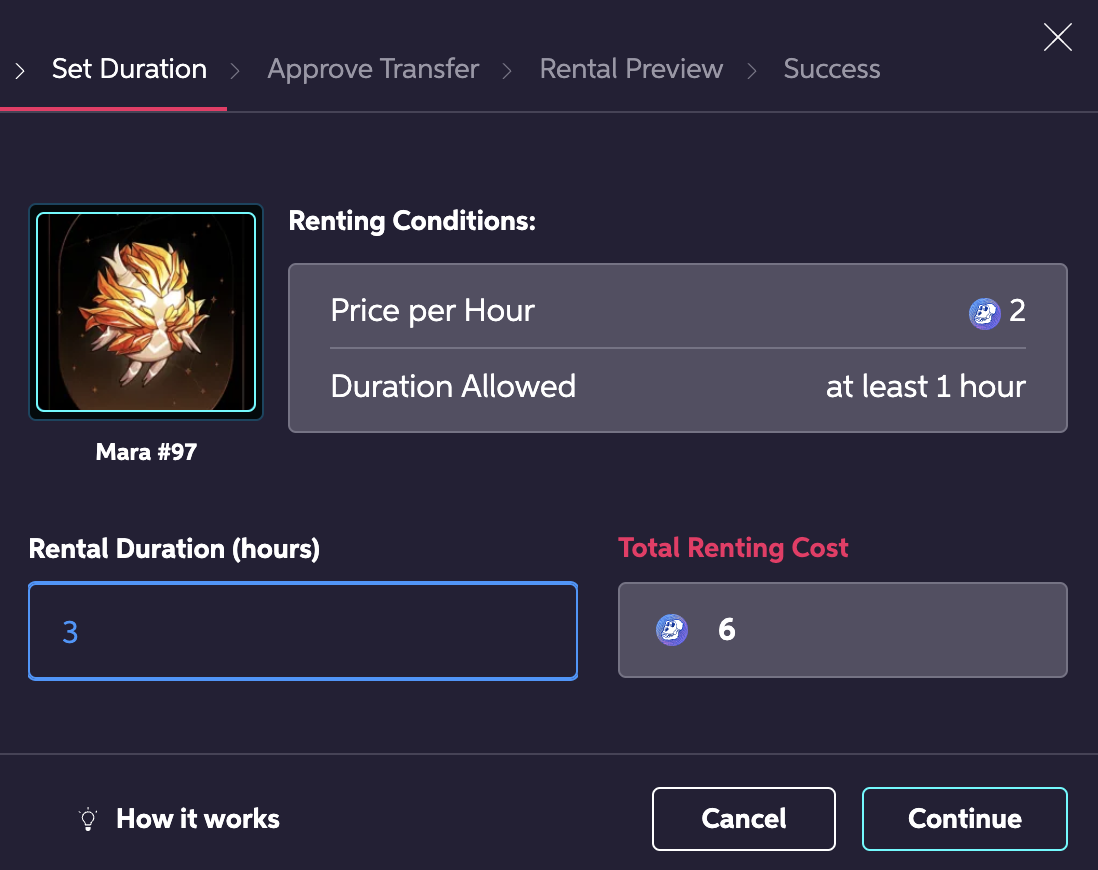
2- Decide how long you want to rent the asset for
Set your desired rental duration.
Note: If you cancel your rental early, you’ll get a refund for the time you had left (but you’ll always at least pay for the minimum rental duration).

3- Authorize APE Transactions in your Wallet
You won’t be charged any APE at this point – that will only happen on the final step when you approve the rental.

4- Review your rental’s details (optional: delegate to another Wallet)
Double-check the details.
If you want to, you can also delegate your rental to another Wallet (in case the Wallet you use for payments is separate from the one where you keep your assets/that you use to play LOTM).
If everything looks good, approve the rental.
You’ll need to approve the transaction in your Wallet.

5- Success!
And that’s it! You can start using your rented asset right away!
Otherside Renting: Video Tutorial
As promised, here's Justin's fantastic video tutorial:

